memtest86+ is not available on UEFI.
memtest86 (a non FOSS product with a free and a commercial option) is often in the answers as the alternative.
However the only option you have is to download it, and format an entire USB stick and boot for it.
Well… that’s not necessary! We can add memtest86 as an entry to GRUB2, just like memtest86+ used to be, which is very convenient.
There’s already an article about this, but it’s Arch oriented, and outdated because the ISO image is no longer provided, only the USB image is available now.
Besides, Arch users already have an AUR for this.
Steps:
1. Download memtest86-usb.zip from https://www.memtest86.com/
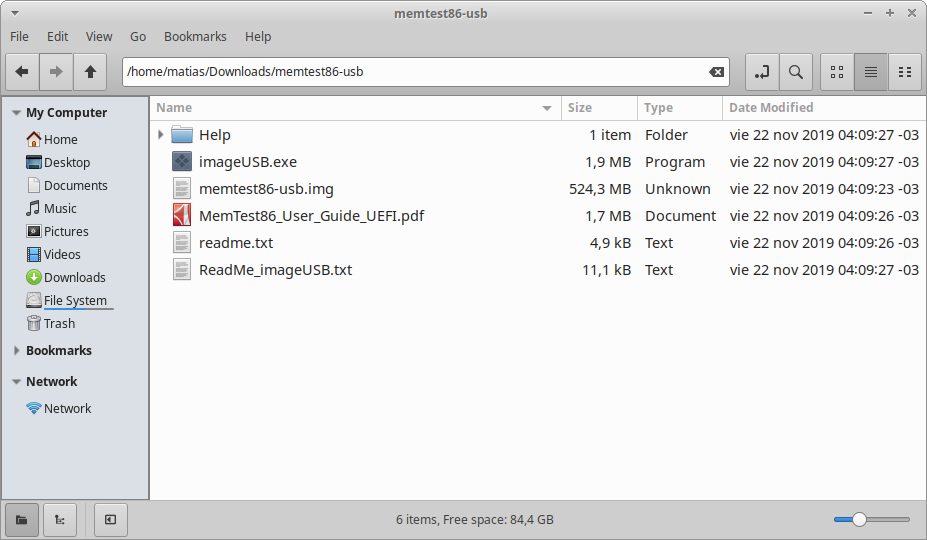
2. Unzip it somewhere, e.g. /home/matias/Downloads/memtest86-usb You will see its contents:
3. We need to analyze memtest86-usb.img using fdisk -lu to see it’s mount offset:
fdisk -lu memtest86-usb.img

Disk memtest86-usb.img: 500 MiB, 524288000 bytes, 1024000 sectors
Units: sectors of 1 * 512 = 512 bytes
Sector size (logical/physical): 512 bytes / 512 bytes
I/O size (minimum/optimal): 512 bytes / 512 bytes
Disklabel type: gpt
Disk identifier: 68264C0F-858A-49F0-B692-195B64BE4DD7

Device              Start     End Sectors  Size Type
memtest86-usb.img1   2048  512000  509953  249M Microsoft basic data
memtest86-usb.img2 514048 1023966  509919  249M EFI System
We need to mount memtest86-usb.img2. Because each sector is 512 and it starts at 514048, we need to multiply these two together and mount byte offset 514048*512 = 263192576
4. Now we create a folder (e.g. /home/matias/memtest-tmp) and mount it:
mkdir /home/matias/memtest-tmp
sudo mount -o loop,offset=263192576 /home/matias/Downloads/memtest86-usb/memtest86-usb.img /home/matias/memtest-tmp
5. Now we need to copy the folder /home/matias/memtest-tmp/EFI/BOOT to the EFI partition. This should be at /boot/efi, but we double check with gnome-disks:
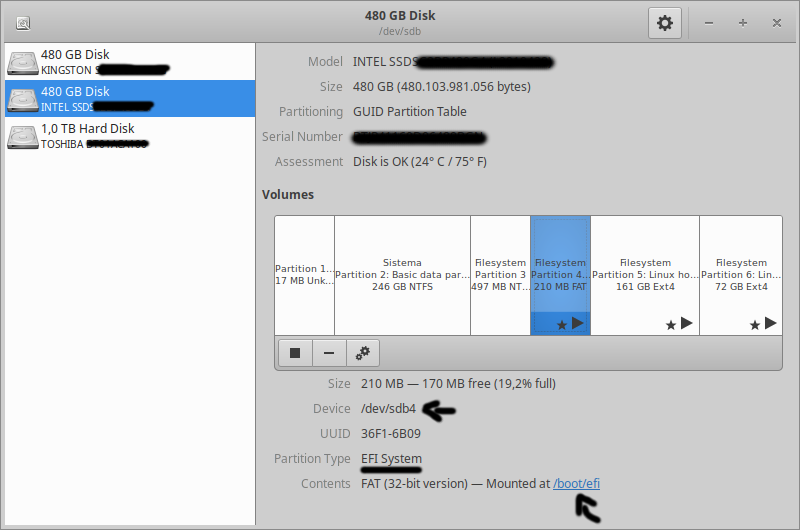
You need to write down the following information:
- That the partition type is the EFI System (there’s only one per disk)
- Where it is mounted (/boot/efi)
- The device letter. It’s /dev/sdb4; thus it’s the letter b. This will be important later
- The partition number. It’s /dev/sdb4; thus it’s partition 4. This will be important later
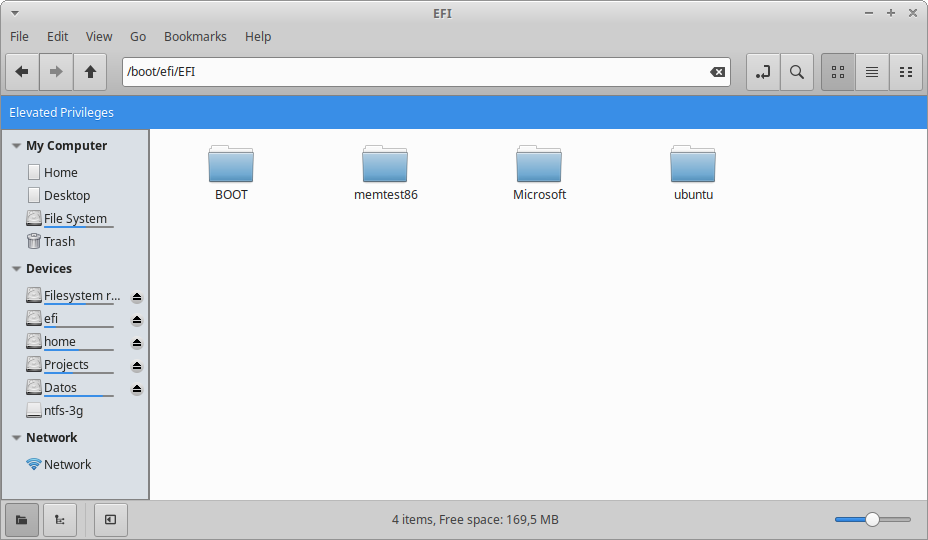
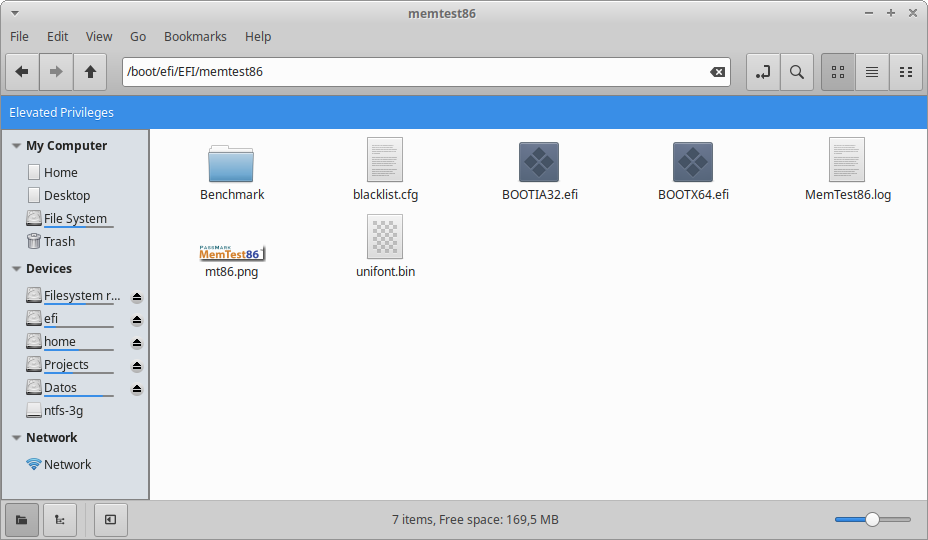
6. Now let’s copy it to /boot/efi. If done correctly, it should look like this:
7. We need to create a GRUB chainloader entry now. Create a file /etc/grub.d/40_memtest, be careful not to overwrite anything. If that file already exists, then use another name with the 40_ or 41_ prefix and fill it with this:
#!/bin/sh
exec tail -n +3 $0
# This file provides an easy way to add custom menu entries.  Simply type the
# menu entries you want to add after this comment.  Be careful not to change
# the 'exec tail' line above.

menuentry 'memtest86' {
    insmod part_gpt
    insmod fat
    set root='hd1,gpt4'
    chainloader /EFI/memtest86/BOOTX64.efi
}
Important: We know in my computer it’s ‘hd1,gpt4‘ because:
- Mount point was /dev/sdb4; meaning it’s hd1. If it had been /dev/sda4, then it would be hd0
- Mount point was /dev/sdb4; meaning it’s gpt4. If it had been /dev/sdb0, then it would be gpt0
In your computer it may be different.
btw make sure access is right:
sudo chown root:root /etc/grub.d/40_memtest
sudo chmod 755 /etc/grub.d/40_memtest
8. Run:
sudo update-grub2
And now you’re done! After rebooting, memtest86 should be selectable from your GRUB loader.